This column type will let you embed a webform, whether it's a simple contact form or a multi-step with conditional logic. Every single behavior and aspect of your forms and their inputs are customizable.
Book: For Content Editors
Last Updated:
09/17/2025 - 13:10
Forms
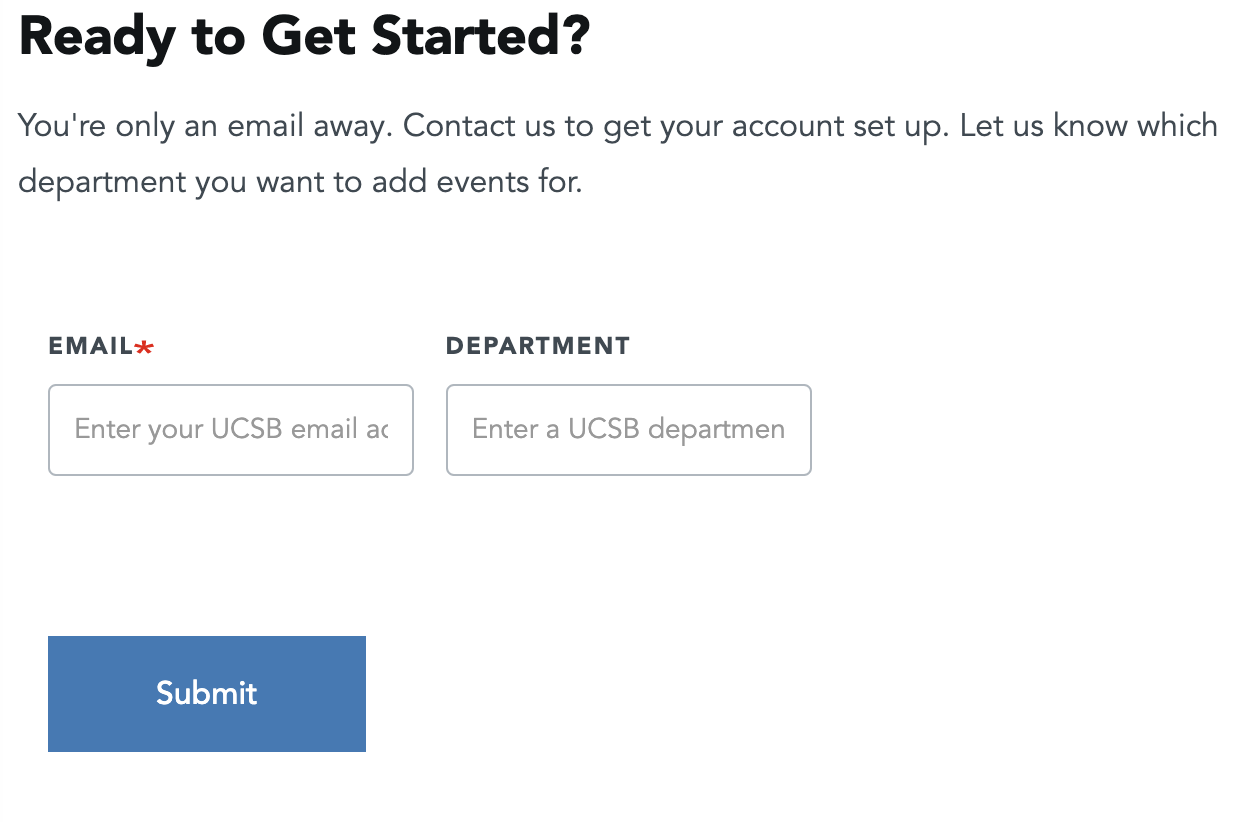
Contact form sample from the UCSB Brand website.
Make a Form
- Admin > Structure > Webforms
- One form - Basic Contact Form - is active and ready for use. We recommend you duplicate this form and make a custom form for your site.
- If making a new one, you must first activate another module called Webform UI by going to Extend > Webform UI > Save.
- Go to Structure > Webforms > Add Webform and provide a good title. Use the Build button to edit the existing fields or add new ones.
- Save all changes.
Add a Form to a Page
Find the page(s) the form will be placed in, and select Edit.
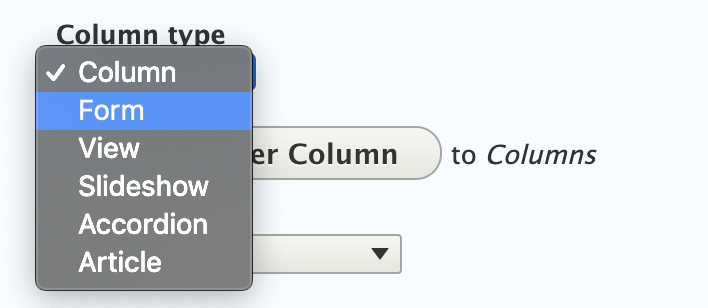
Inside a blade, select the Column Type: Form and select 'Add another Column'
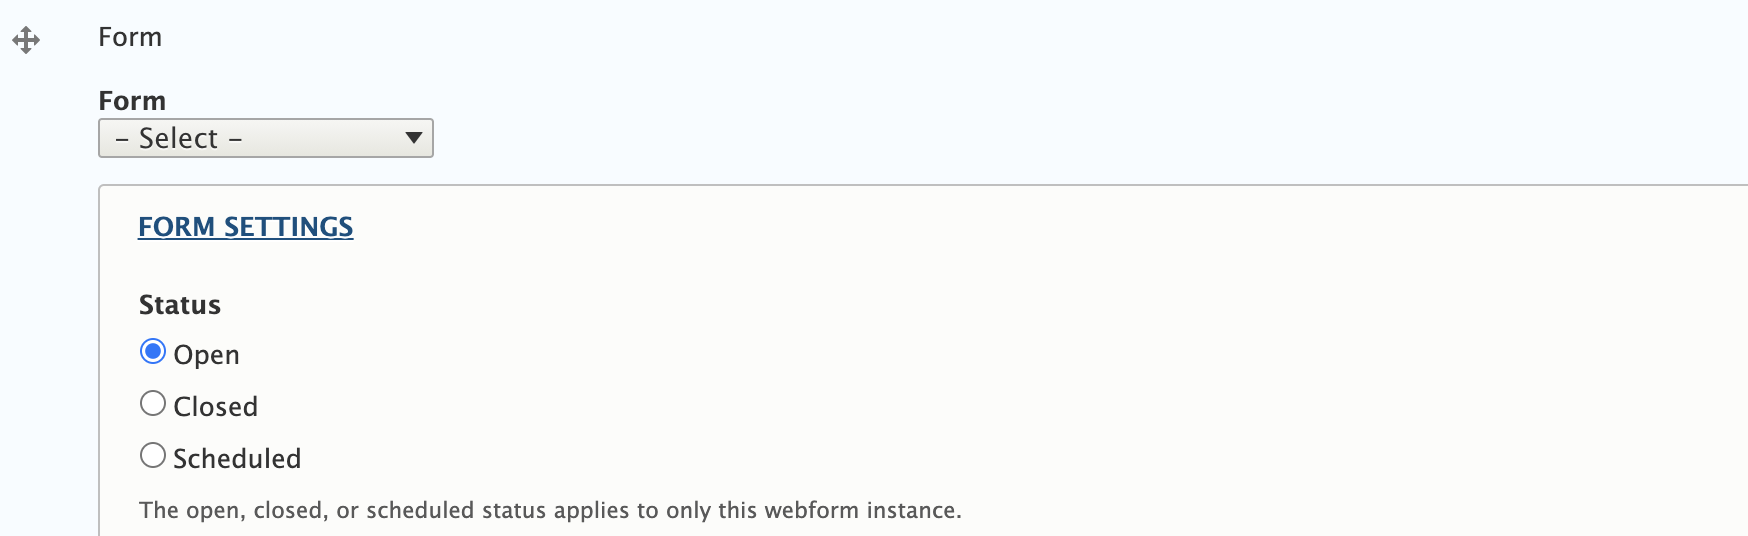
From the 'Form' dropdown, select the newly-created form. By default it will be set to Open.
In this example, we made a contact form using the Webform module and are now selecting to use it inside a blade on a basic page. Another possibility with the form is make it a repeatable blade block, if you find yourself using the same form on numerous pages (newsletter signups would be a great example of this).
The SMTP module is included in the set of modules available for Web Theme sites and needs to be activated from the Extend menu for emails to be sent along with the creation of an APP password in Google. Without these activations, the website will store the submission data only.
Receiving submissions via email
- As a security measure, we recommend using an APP password if a Google account will be used for SMTP authentication.
- If using Google mail to send submissions from the website to a person/team, it will involve setting configuration for the gmail account itself and configuring the APP password. For a step-by-step instruction on setting this up, please visit Steve Polito's blog post for SMTP configuration and Kaleem Clarkson's Medium post on creating APP Passwords in Gmail.