Jump links, also known as anchor links, allow visitors to jump to various locations on the page, but it keeps them on the page. These types of links enable site editors to highlight specific points of interest, especially with long-scrolling internal pages where the goal is to stay for the content you have created. We recommend using careful consideration when it comes to jump linking.
Book: For Content Editors
Last Updated:
05/28/2026 - 15:12
Jump Links
Step 1: Create Menu Box
Figure out where (usually at the top) your Jump Links should be on your page. An ideal Jump Links menu should have a minimum of 2 links. From a layout perspective, it is recommended to position the Jump Links menu either in its own blade or within a call-out box (like a border box) to ensure your users clearly see the menu.
Step 2: Make Links
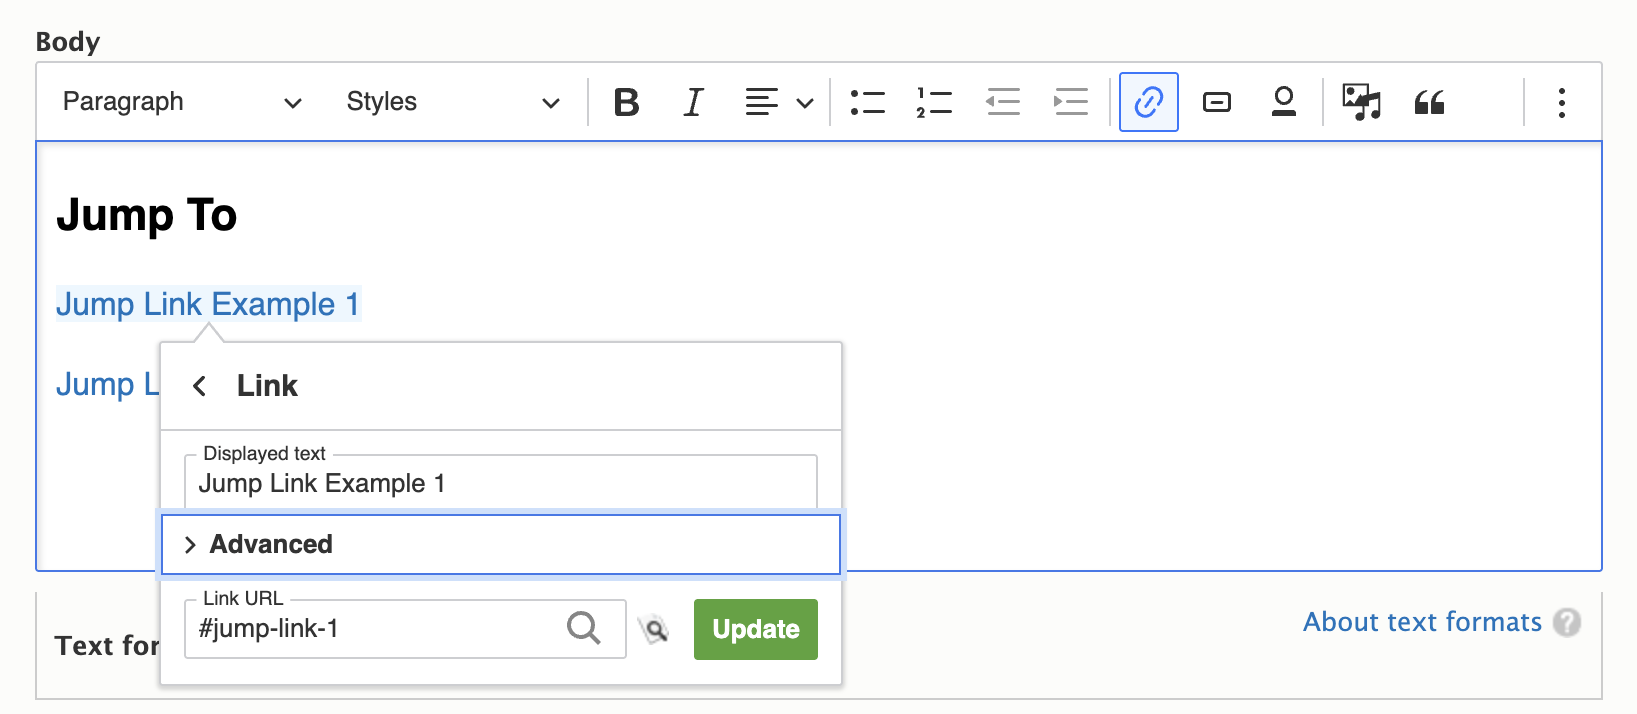
Create a column and inside the editor box, create a link name. Highlight the link name and click on the chain icon. In the ‘url’ field, enter the hash symbol and a name of the link using dashes for multi-word link titles. It is recommended to not use short names (i.e #zoom) to avoid redundancies and avoid acronyms (i.e #arit) to establish better SEO.
Step 3: Add ID
Open up the blade that will have the destination link, and inside the editor box, click on the Source button in the row of icons. Raw HTML will now display, where you can manually add id=”my-jump-menu-link” to the destination.
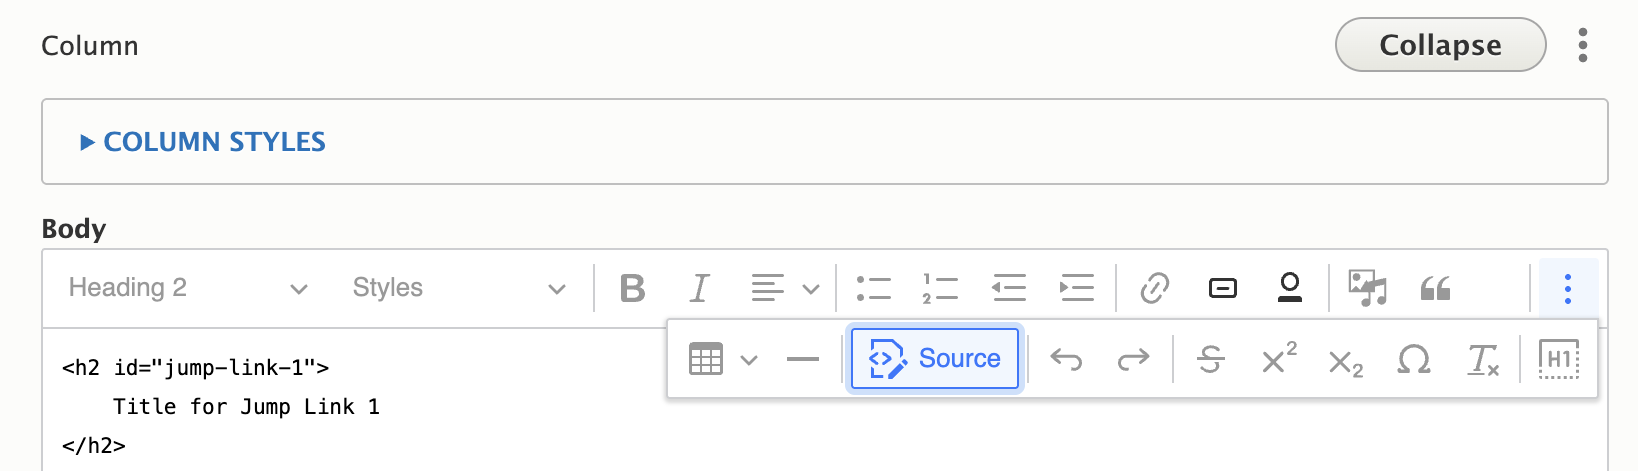
Example: If you want to make one of your H2’s the destination link, find the <h2> code in the ‘Source’ and add the ID, so it will look like <h2 id=my-jump-menu-link>Heading</h2>
Step 4: Test Test Test
Save your page and test your new Jump Links menu.
Note: You can also create links that will jump to a section of another internal page, but please be conservative with this approach as it has the potential to give your users a negative experience.
Checkout a working example of the jump links on the Live Demo Site