Last Updated: 04/02/2022 - 17:53

Autopilot

Autopilot detects and applies new updates for your Web Theme site's core CMS and plugins. It then uses visual regression testing to help determine whether the updates are safe to deploy. If you are responsible for maintaining a Web Theme site or are a User in Charge of a site hosted on Pantheon, Autopilot is for you.


autopilot demo gif

visual regression example


Enable Autopilot

  1. If the site is in SFTP mode with staged changes that haven't been committed yet, commit those changes first.

  2. In the Global Primary Navigation, click the  Autopilot icon.

  3. Sites for which Autopilot is available are listed in the All Sites column of the Sites table.

  4. Click Activate in the Site's row. During setup, use the buttons at the bottom to navigate between steps. If you use the browser's back button instead of Go Back, you'll lose the unsaved changes.

  5. In the Configuration step, use the On/Off toggles to choose which features and elements should be tracked for, or excluded from, updates then click Continue to set a schedule and deployment destination for Autopilot. Any elements that Autopilot detects as available for exclusion will be listed in each category (Modules, Plugins, Themes). Click Manage Excluded Updates then the Exclude button on the element's row to exclude it from Autopilot updates.

  6. Schedule Autopilot to run: Never (Update Manually), Monthly, or Weekly.
    Then use the dropdown menu to choose the deployment destination: Dev, Test, or Live.

    review example

  7. Add pages to track for visual regression testing. Autopilot automatically suggests up to ten URL paths during setup:

    visual review for autopilot

  8. Click Save to initialize Autopilot on the Site.

  9. Click Status in the Autopilot sidebar for the current status of the testing. This process might take a while:


Apply Updates

From the Autopilot Status screen, click Queue Updates.

You can also apply updates from the site list on the Autopilot page. From the Actions dropdown next to each site name, click Start Applying Updates.

The platform adds the request to a queue, and will apply updates and deploy them to the chosen environments as quickly as possible, depending on current platform load.

Track the update status from the site's Autopilot Activity page.


Tests and Results

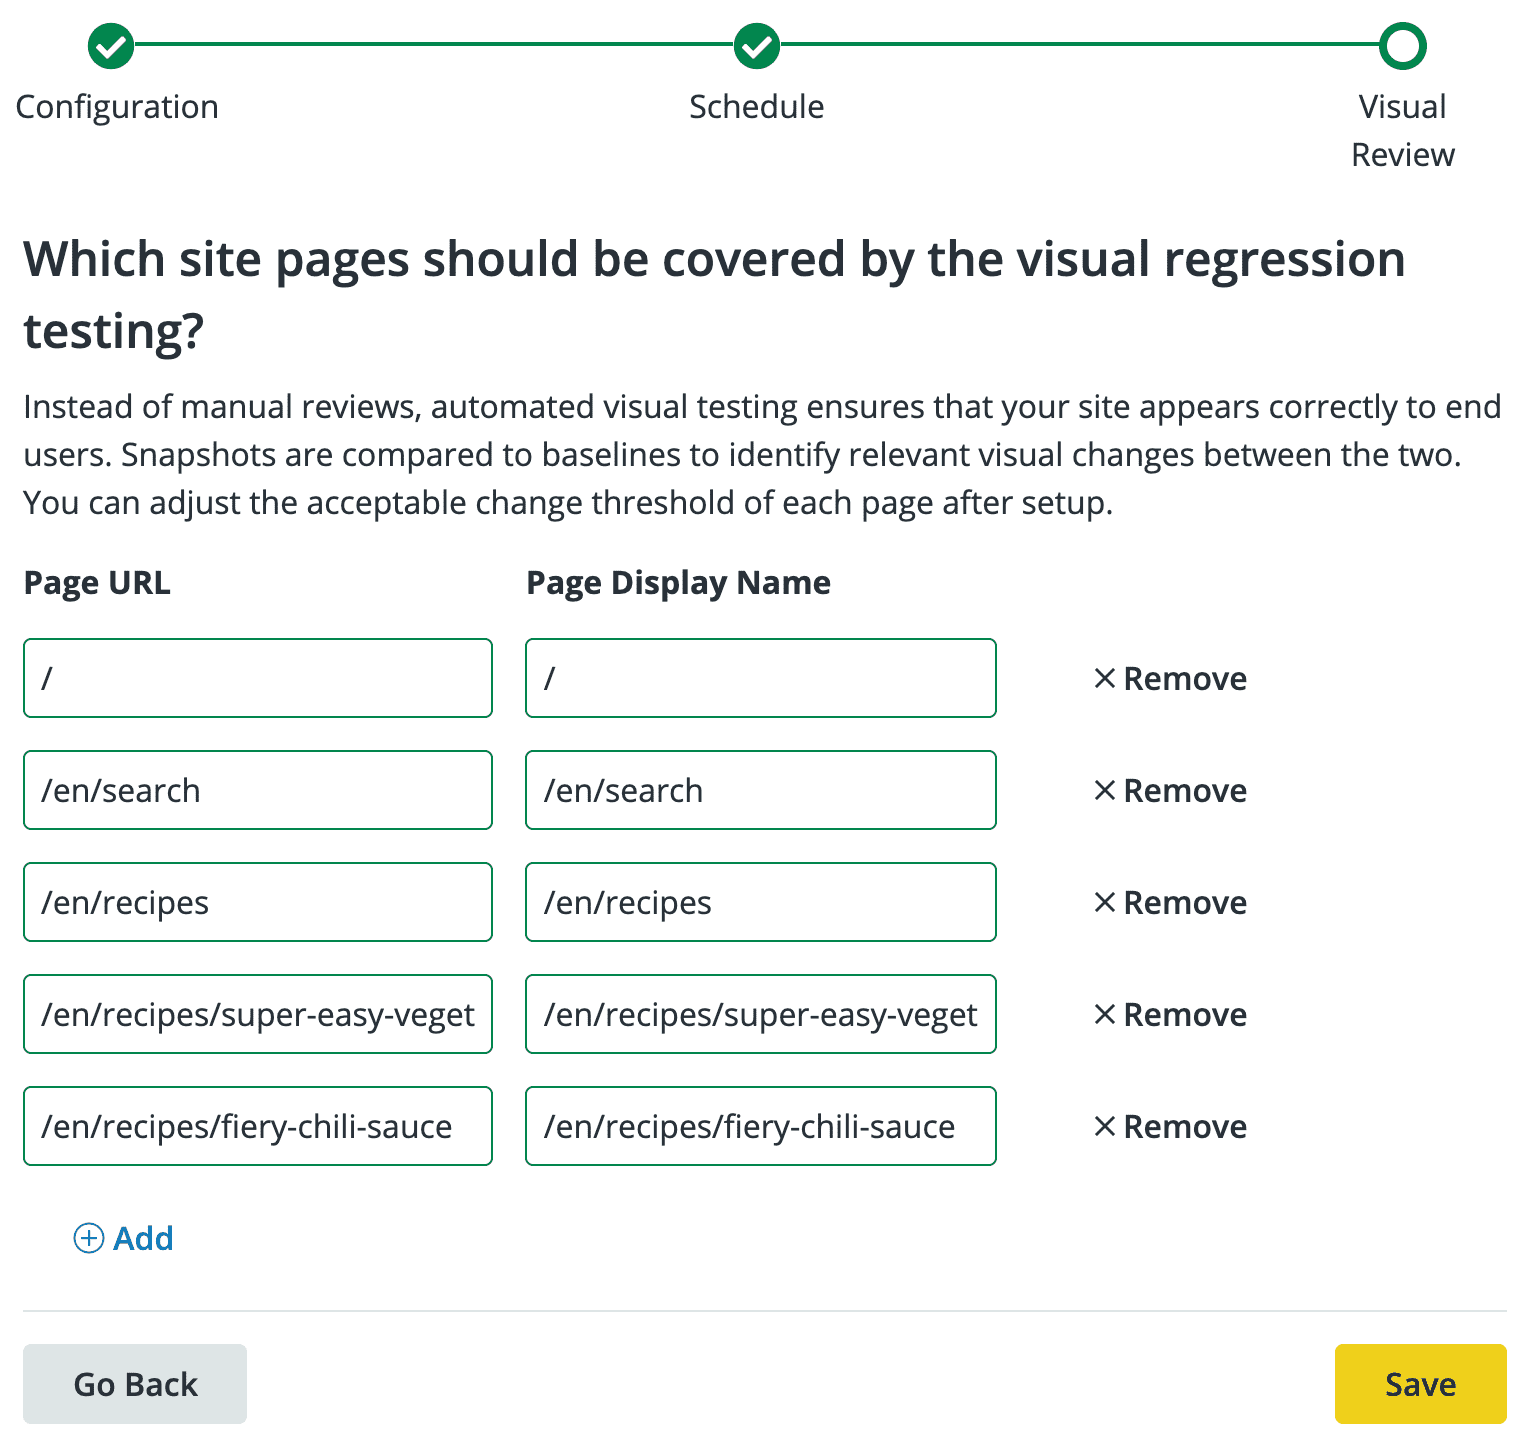
Autopilot updates and visually tests a copy of your site on a Multidev so it can detect issues before it tries to apply updates.

Successful Tests

Autopilot can automatically apply updates and deploy to the Live environment.

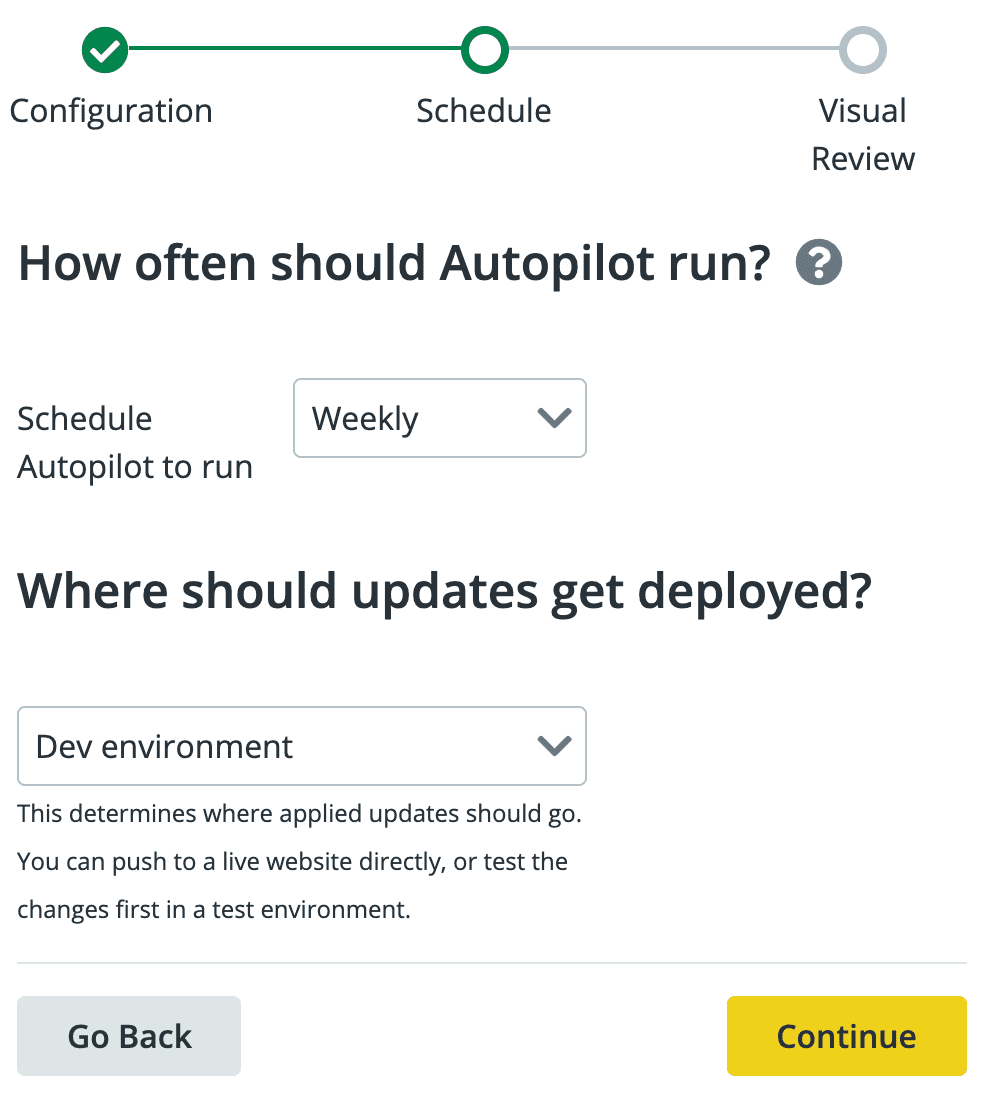
If you’re not comfortable with Autopilot deploying all the way to the Live environment, you can have Autopilot only deploy updates to Dev or Test and stop. You can proceed with other manual or automated QA processes, and deploy from the Test to Live environment when ready.

You can specify the environments to which Autopilot deploys. When all tests pass, it can deploy to the:

  • Dev environment only: A good choice for a site under continual active development
  • Test environment (after Dev): A good choice for a high traffic site that needs an extra level of manual quality assurance (QA) or automated CI
  • Live environment (after Dev and Test)

Failing Tests

Autopilot can report failures via email and send a weekly email report summarizing all Autopilot activity. When a failed test requires review, no new tests can be run on the site until the results have been approved or discarded through Autopilot. If an error is detected during an update attempt, the Autopilot Status shows Needs Attention with two options to Review Test Results or to View Update Details.

  1. Click View Update Details for details:

  2. Click Review Test Results to compare changes.

  3. Click Approve to accept the changes or click More Actions  to view the Multidev, or adjust the threshold for acceptable changes.

Having trouble with Autopilot? Checkout out Pantheon's troubleshooting page or leave a message in the Google Room.